Christmas 2017 Nail Art – Sparkly Insanity

Here it is March and I’m posting about Christmas. But I’m so happy with how this mani turned out, I wanted to give it proper recognition that would be too detailed for Instagram. 🎄

I totally missed all the festivities during Christmas 2016 since I was in the process of relocating and all of my nails broke off during the move.  My last holiday manicure was in 2015 and at that time I used nail charms sparingly.

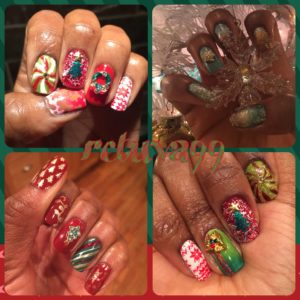
Christmas 2015 – simpler days

In November, I did a Chanel nail design using gems and since then I’ve really been into creating nail art with that element.  It is very time consuming compared to using polish, but so delightful to see the final result.   It has so much dimension and sparkle. It’s hypnotic!

But the problem most of us face when making these intricate designs is the inevitability of losing gems as we use our hands. And the dilemma is always: do I put polish over the gem to secure it better & lose the sparkle or just adhere the flat end so that the facets stay exposed & risk it popping off with the first hand wash?

Neither one is ideal.  I started to fully encapsulate the gems in builder gel to address both of those issues, but it make for a nail with too much height. And no one really likes bubble nails, despite that trend a few years ago. Thank Goodness that’s over!! Plus it takes too long to sand and soak off those layers and it risks weakening the nail bed. Hello, peeling and brittle nails.

I stumbled upon this YouTube tutorial that really gives you the best of both worlds: Secured gems with exposed facets.  Gummy Jelly and Shine E no wipe topcoat by Exclusive Nail Couture are products that REALLY deliver.

I use my hands at work and wash them multiple times a day, so by the time a gem falls off using this method, it’s usually when I was intending to change the manicure!

So to have my detailed design truly last 7-10 days has been a delight! And I’ll likely have more accent nails with Swarovski crystals on them in the future.

But I digress…

To make up for missing out on Christmas last year I did three Holiday manicures, but this one is my favorite.
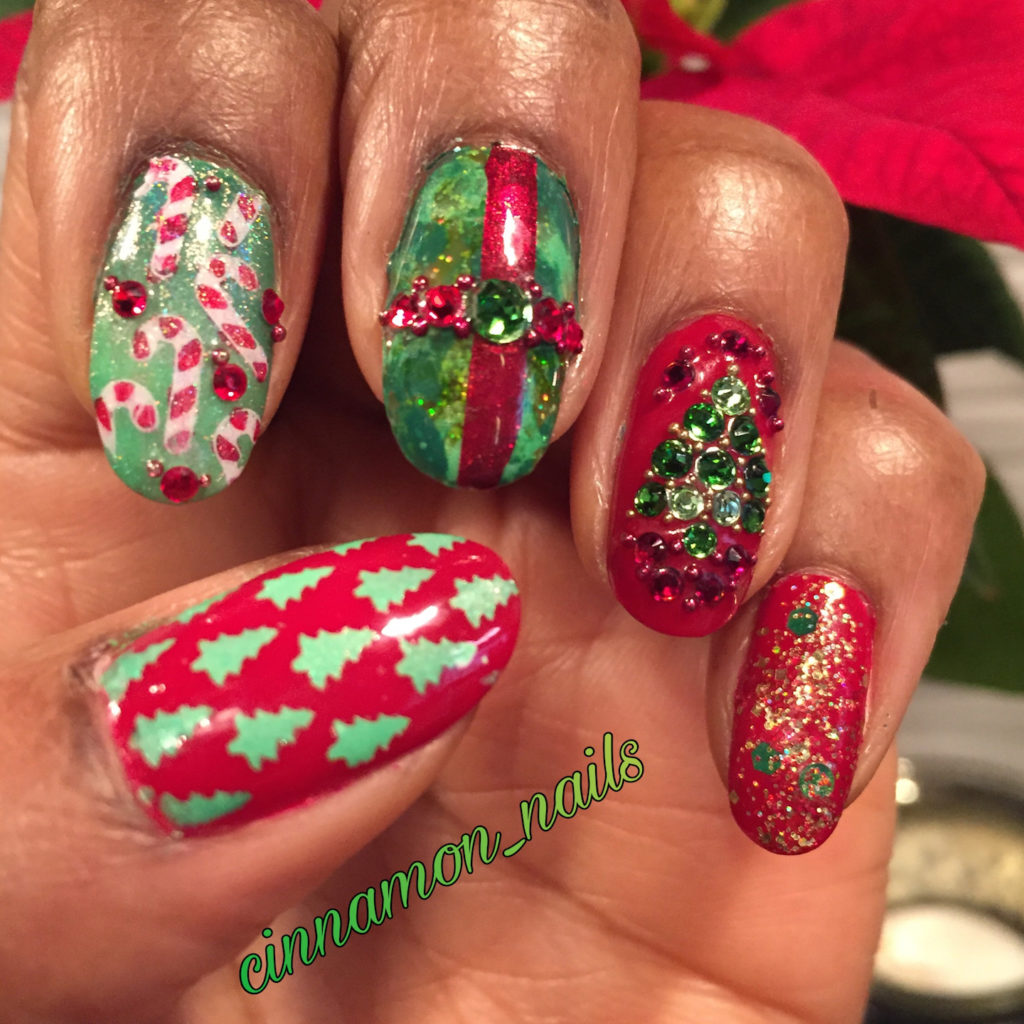
 

It took 3 episodes of Showtime’s The Tudors to complete…thats quite a lot of treason and beheadings if you watch that show! 🏰⚔🛡💀

I used 10 polishes for this design as well as stamping, smoosh technique, sponged gradient, vinyls, painting on the transferred image before stamping and of course gems. WTH?😳
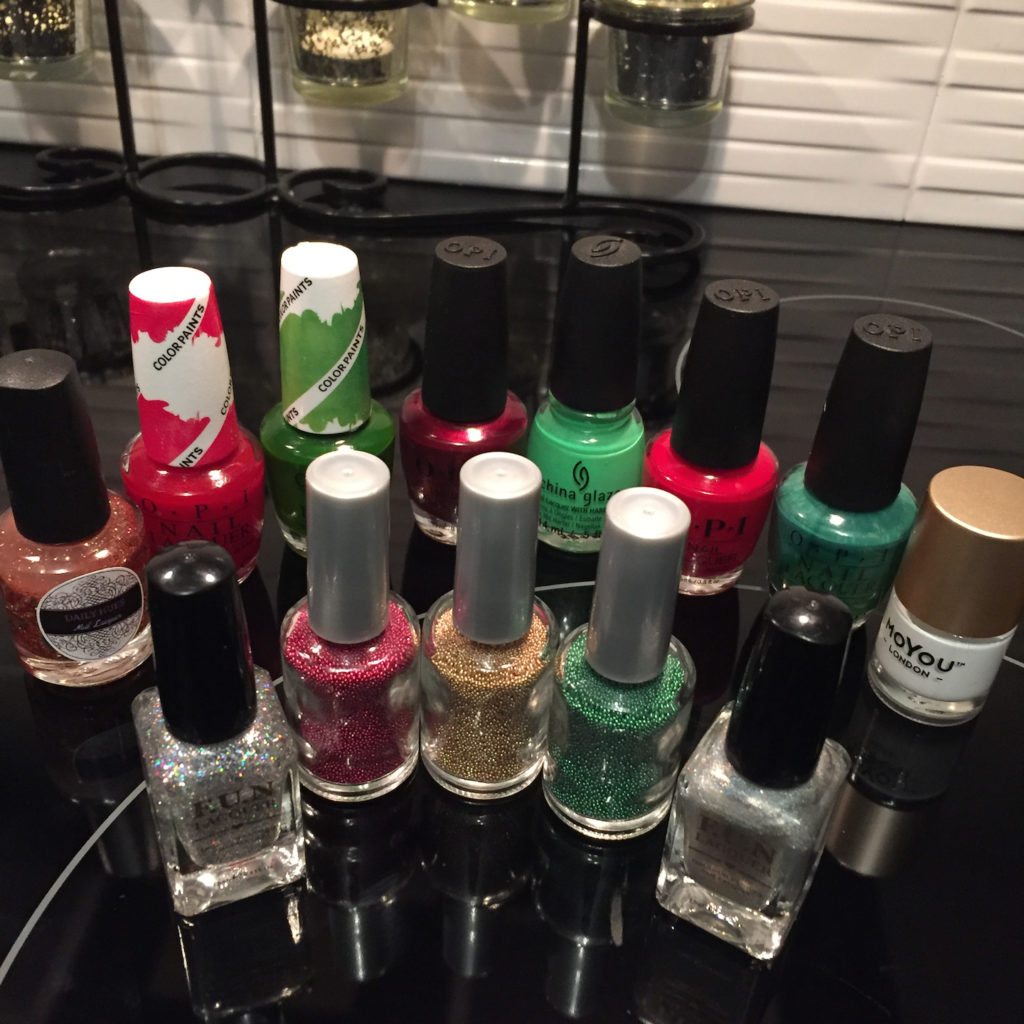
The three bottles in the middle are craft beads

The polishes starting with the front row:

Fun Lacquer – 24 Karat Diamond, Diamond holo top coat

Back Row:

Daily Hues- Christmas Magic (a red, gold and green glitter polish that I had purchased two years ago and JUST USED!)

OPI color paints- Magenta muse, Landscape Artist

OPI- Sending you Holiday Hugs, Adam Said It New Year’s Eve, Jade is the New Black

China Glaze- I’m with the Lifeguard

Moyou London- White Night (for stamping)

So let’s go nail by nail!!
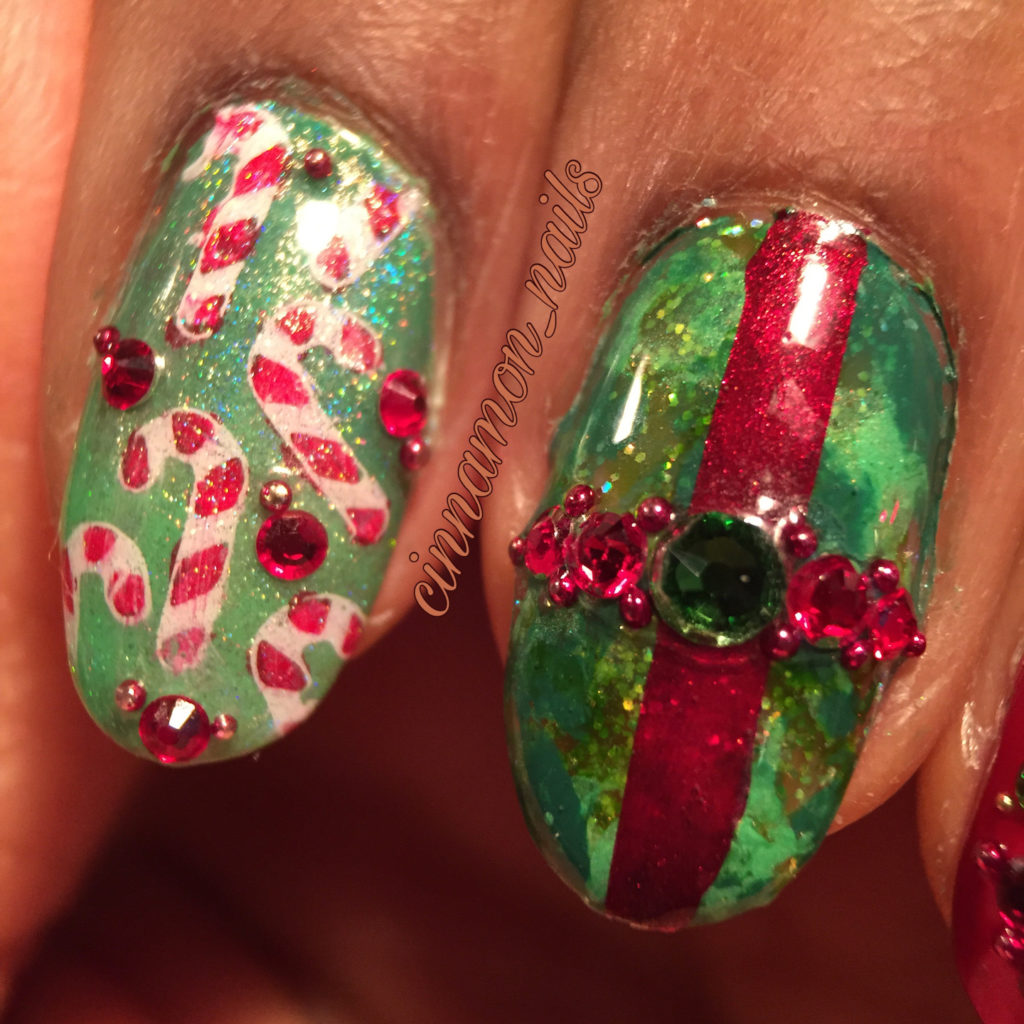
Nail art technique mother lode

Index finger – sponged gradient base then stamped the candy canes (in white) onto it. To make the red and white alternating colors of the candy cane, I painted red (OPI color paint) with a detailing brush in the empty spaces directly onto the stamper.  I did let the red polish dry long enough to paint white polish over it the so that the red would be true to color against a green background.  Stamping after the polish is dry is risky since the image may not adhere to the nail, but I lucked out. I wish I hadn’t put the holo top coat over this because it lost some of the detail.

Middle finger- smoosh technique then added a stripe of metallic red  guided by vinyls to keep the lines straight. The gems and craft beads completed the look of a present.
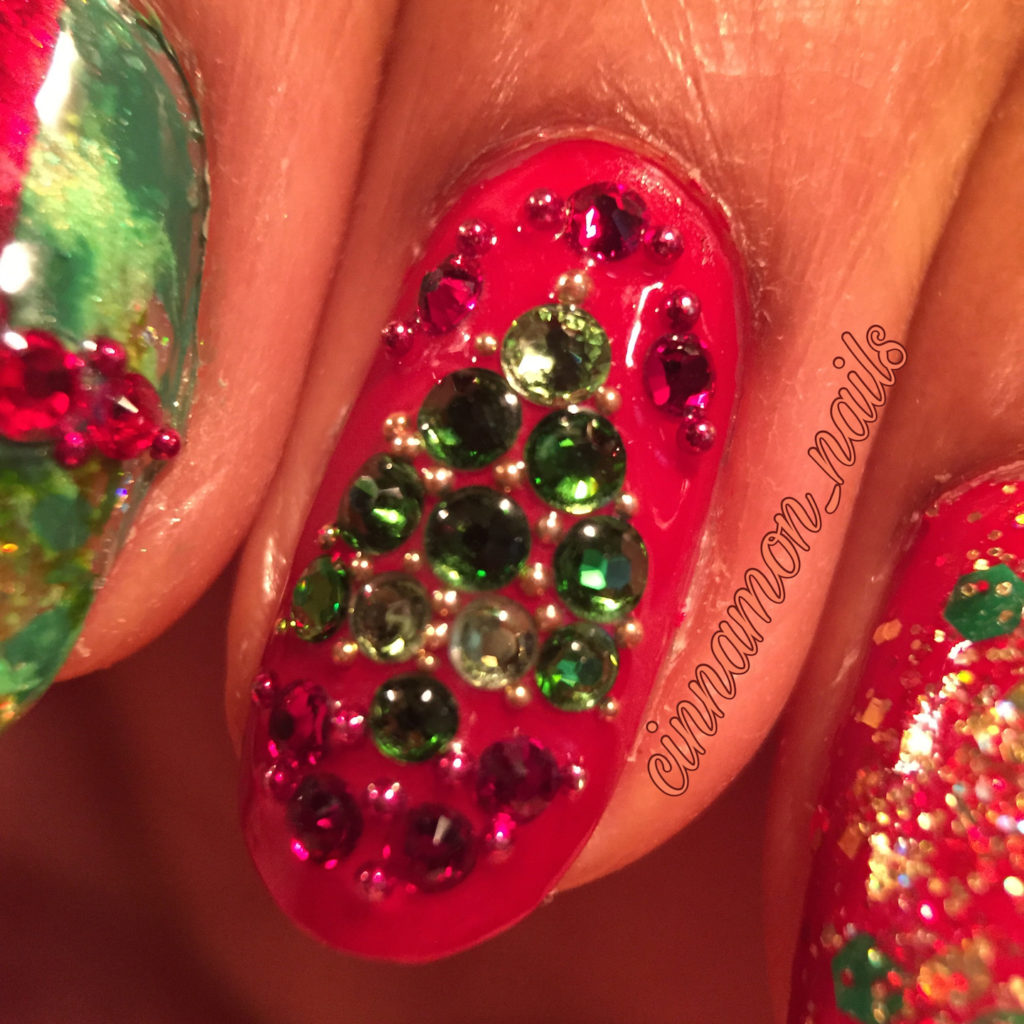
Flash curing (about 10 seconds) helps to keep gems from sliding out of place while building the design

Ring finger- my pride and joy. Christmas tree created entirely with Swarovski crystals.

Pinky- the underachiever (see above).  Red base with glitter polish over it! 😆
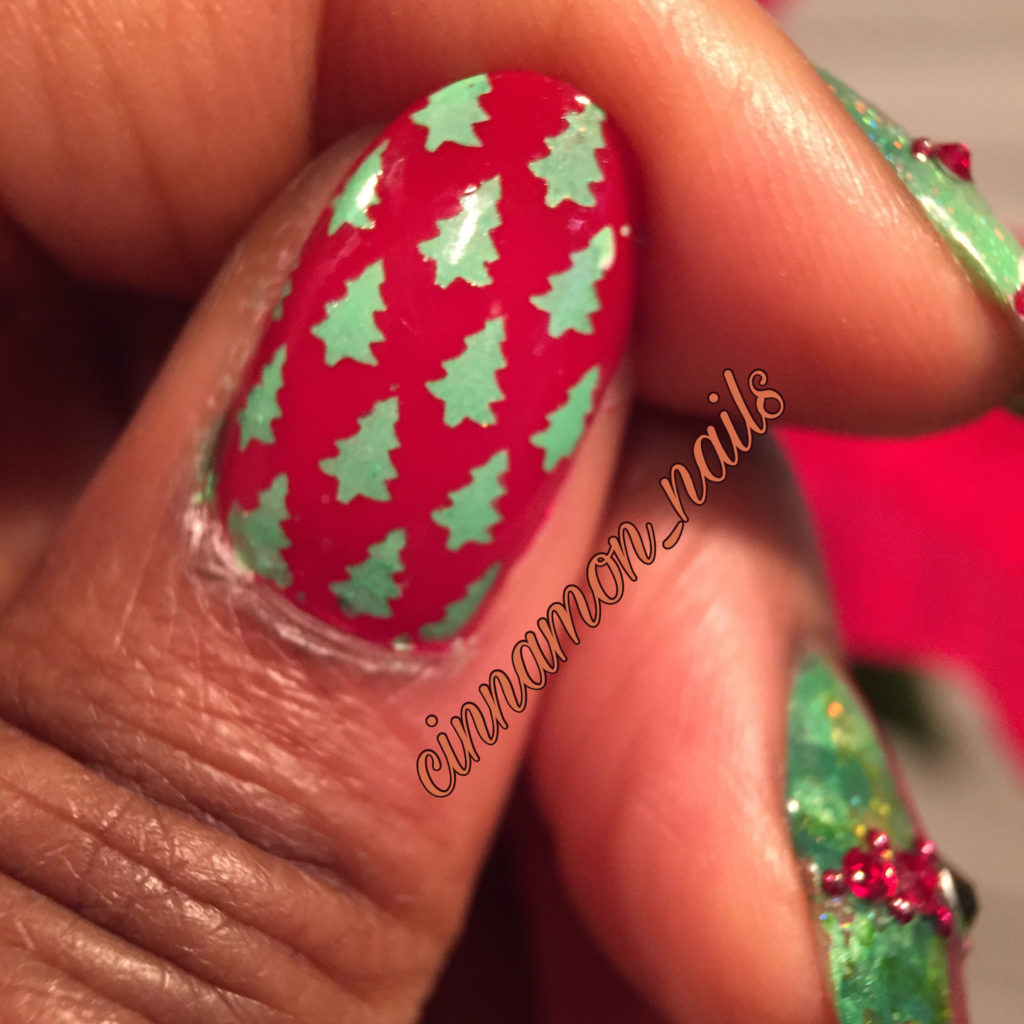
If this was wrapping paper, I’d buy it!

Thumb- red base with green Christmas tree vinyls.  First I lightly sponged with white so that the green would be true to color against the red.  The vinyls are by Polished Vino . I love that the tiny details show through since the vinyl adheres so well to the nail. You can find them on IG: polishedvino and at http://polishedvino.com

Okay hope you haven’t passed out!

I’m right handed so the right hand was simpler.
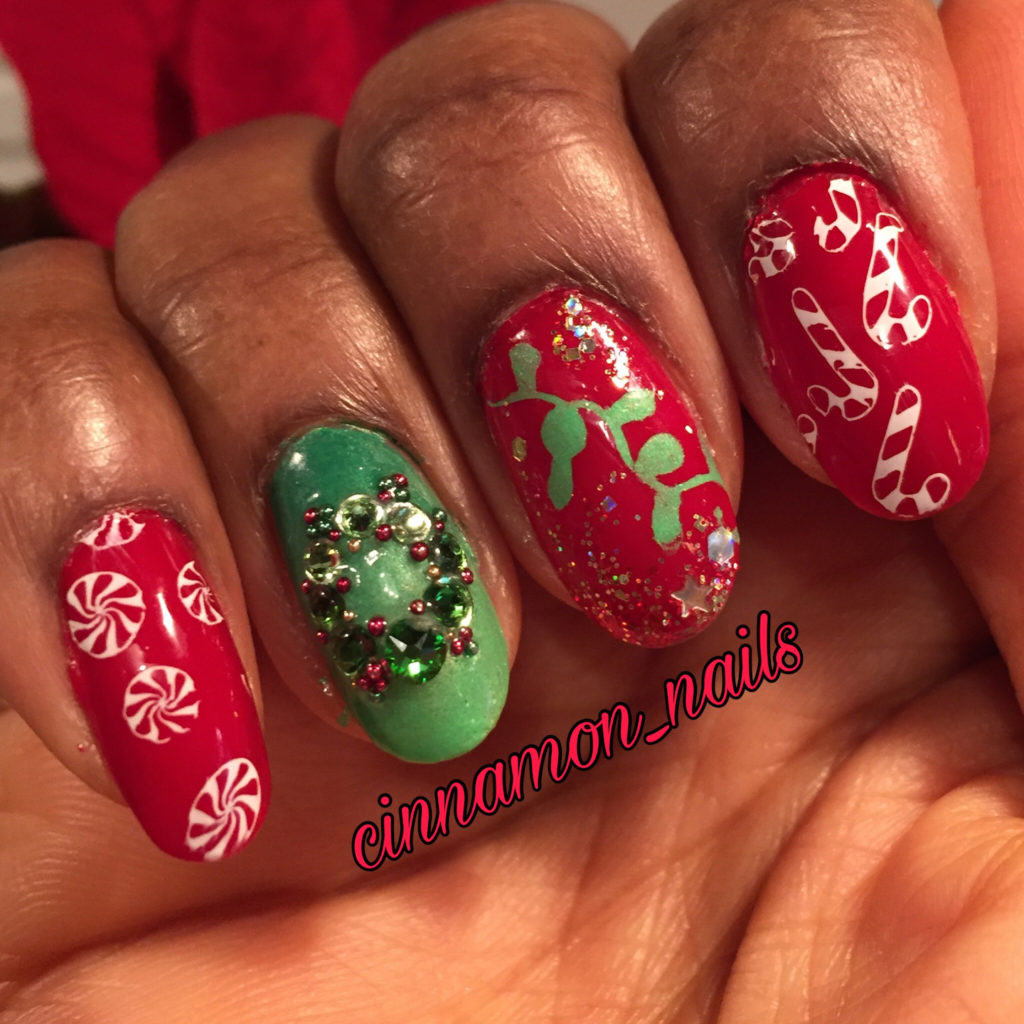
Cinderella hands need adornment too!

Pinky, and index- stamping. I got tired, which you can tell if you look closely at the “crushed” candy cane at my cuticle.

Middle- red base with a green polish over Christmas lights vinyl and a light dusting of glitter polish.
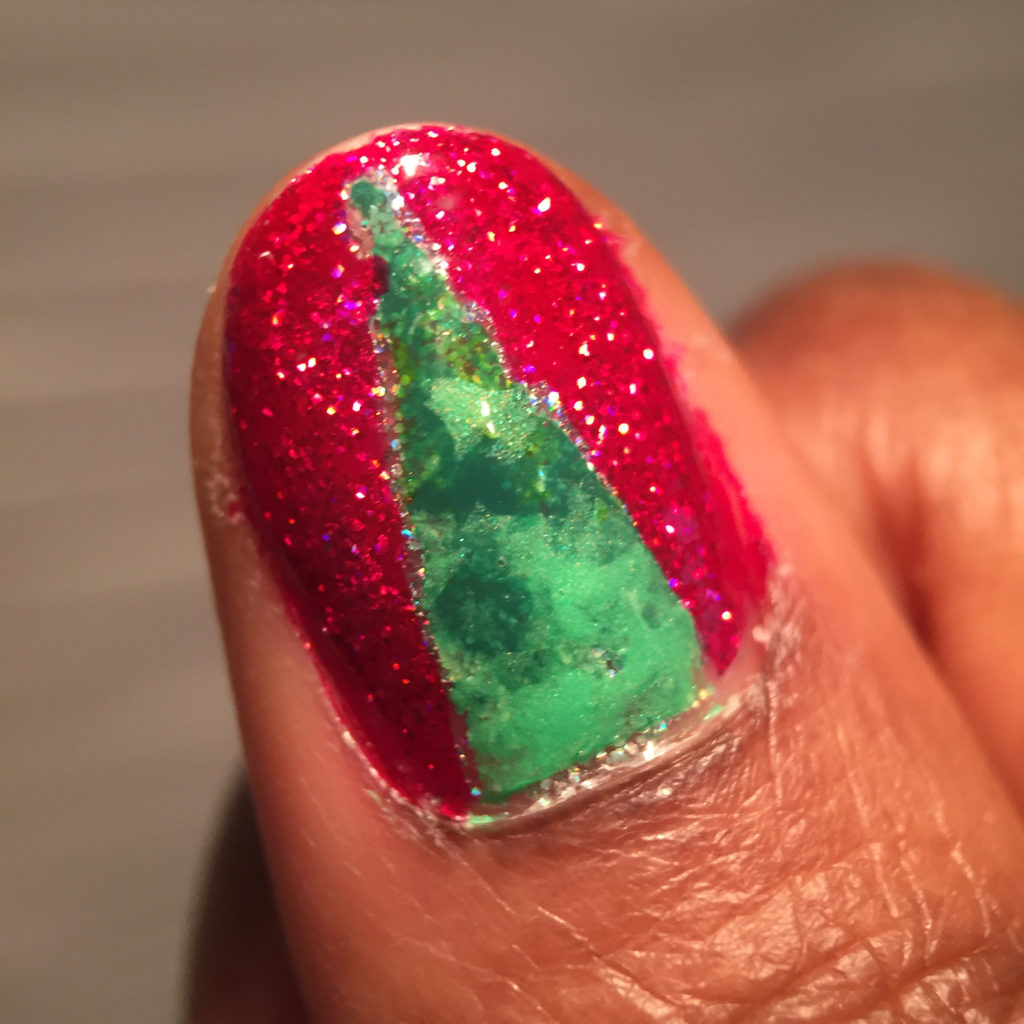
Thumb- A stylized Christmas tree guided by vinyls.  Started with a holo silver glitter base. Smoosh technique for the “tree” and painted the red (Opi color paints) over the holo base. In order to get the contrasting colors this close to each other and keep sharp lines, I would protect the completed and dried “workspace” with peel off latex. I won’t be going through all these changes for a nub nail ever again.
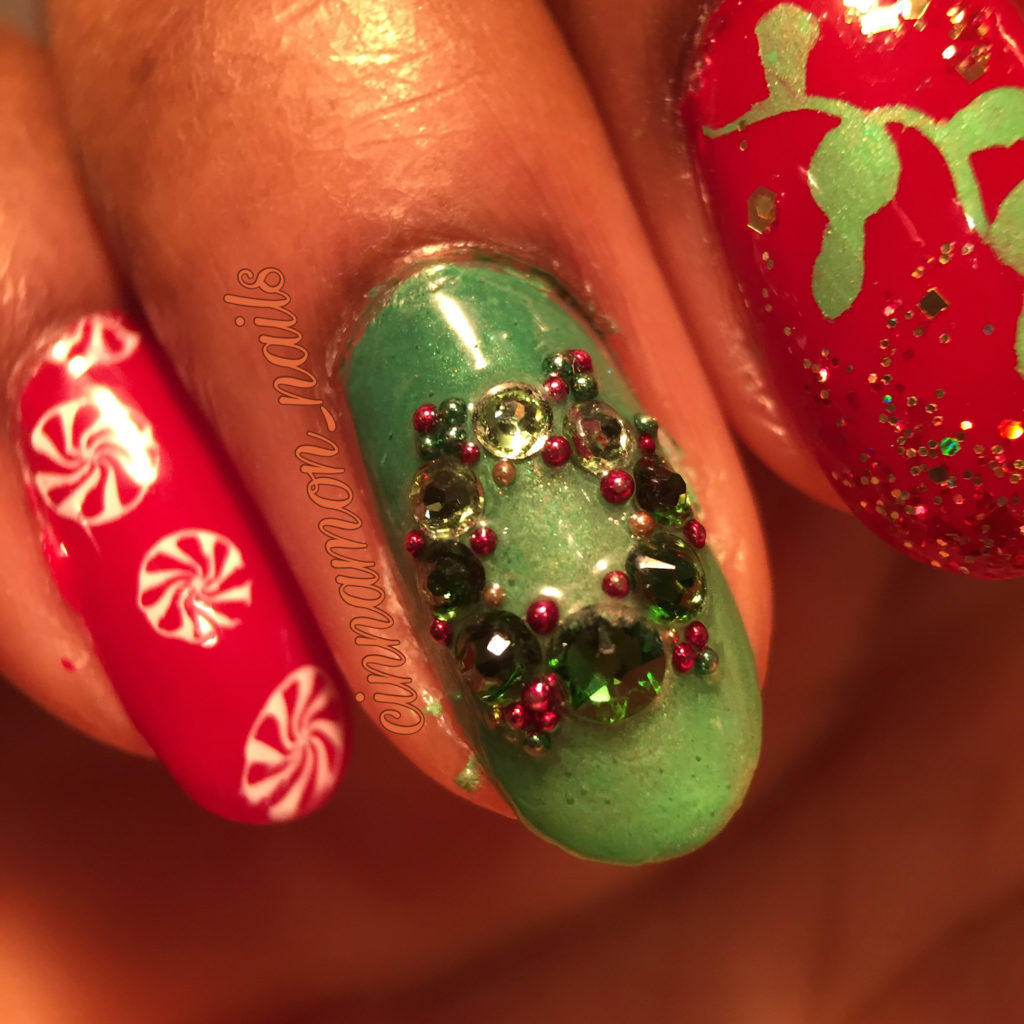
Reverse gradient with polish and gems

Ring finger- just the most exquisite Christmas wreath with red berries over a sponged gradient base.  I did a reverse gradient using lighter and darker green Swarovski crystals.

So there you have it!  My marathon Christmas design to make up for lost time.  The overall look did not stand out since every nail was different, but I needed to get all of these ideas out of my head!

Thanks for getting this far!

Cheers!  💕
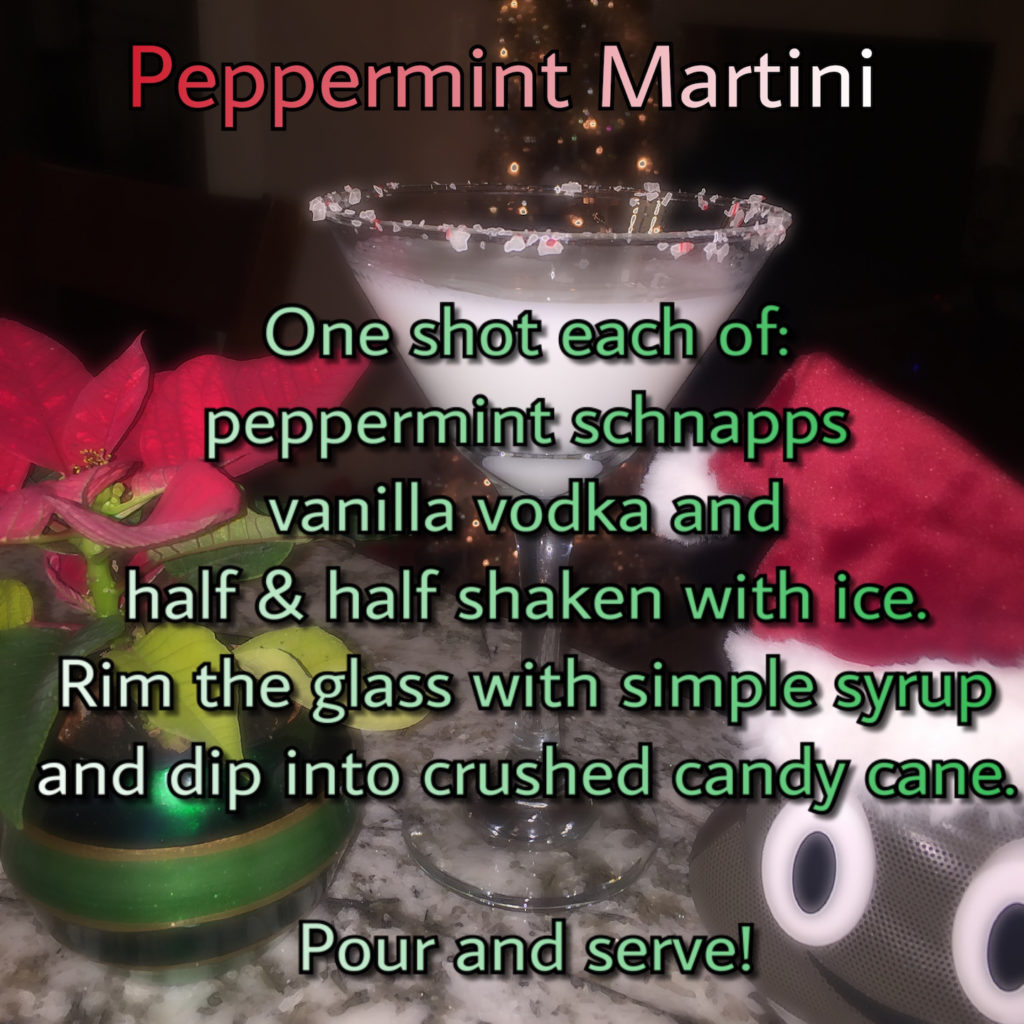
A tasty holiday beverage for your next party!

Groove Cruise Nails

So I’m still flying high on a wave of happiness from my second time on Groove Cruise Miami to Grand Turk. My first trip was to Cabo San Lucas in October.  I think it’s safe to say I’m going to be a GC Lifer!

Sunny day at Grand Turk

For those that love EDM, this is a floating dance music festival that provides 24 hours of continuous music for 5 days! It attracts world renowned DJs but also some of the most beautiful people! And I’m not talking about the physical. The group of people that come on this journey are some of the most genuine, caring and joyful people you could ever hope to meet! They truly become family.

So I was excited to not only do a mani in preparation for the trip, but also share my love for nail art with my GC Fam and spread the PLUR vibes.


Gel polish manicure using holo powder and nail art decals. Holographic glitter is encased in clear gel polish on the pinky

To create the decals  you need water slide decal paper which can be ordered from Amazon.

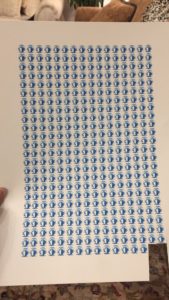
Once I got the desired image sized correctly, I copied/pasted multiple images to fill as many as I could on one sheet of paper.  I first printed it out on normal paper to confirm the size and alignment.  Afterwards I printed it out on the special paper. Then I lightly sprayed it with three coats of Mod Podge clear acrylic sealer (purchased from Michael’s) to keep the colors from bleeding.

Multiple copies of the Groove Cruise ship logo prior to cutting them out

After it dried, I cut out the desired number of images to hand out to folks on the ship!

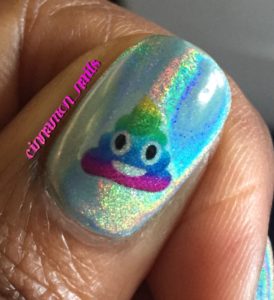
Groove Cruise ship logo and some festive emojis

It was so much fun to create these and share the love last week. If you want more detailed instructions on how to make these, there are several YouTube videos that provide more details.

Rainbow poo emoji says, “Bye!”

Happy Birthday, Cinnamon Nails!

Today marks the one year anniversary of my Instagram page cinnamon_nails!  Over this past year, I really feel like I’ve taken my hobby to the next level.   I made my first nail art tutorial, started a YouTube page, and even had a humble give-away when I reached 100 followers.

I have to thank all the nail art Divas of Instagram for giving me inspiration with their beautiful designs. You challenged me to try different techniques and I have learned so much in the process.  It’s so great to be amongst such positive and encouraging energy.

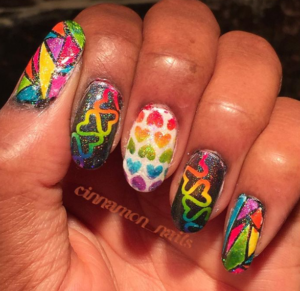
Here are some of my favorite nail designs from 2016!


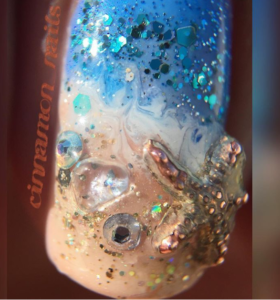
Beach Nails – created entirely with gel polish

I was going to the beach for a week and knew that if the design was to last I needed to use gel.  This design took several hours to create since I had to layer the colors and encapsulate the nail charms and rhinestones into the gel so they would not fall off.  The way this glittered in the sun was mesmerizing!

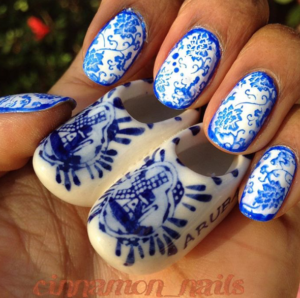
Delft Nails – Feminine and Dainty

This is one of my refrigerator magnets and it compliments this manicure perfectly.  This is a combination of nail stamping and free hand art for the edges.  It was fun to have ten little porcelain tea cups on my hands.

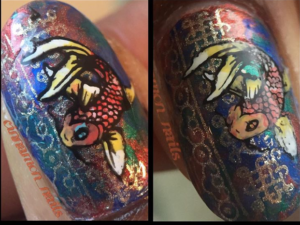
Cloisonne Nails – combination of nail smoosh and hand painted decals

Thanks to Doris, one of the lovely moderators of Smooshy Nail Sunday, for coming up with the lovely jewel-like color combination of metallic red, blue and green; I  was inspired to push my creativity to the limits with this design.   I made nail decals for the gold accents and coi fish using a nail stamper and colored in the fish with different nail polishes.  All work was done directly on my Bliss Kiss Simply Neat Miracle Mat. I’m especially proud of the nail tutorial for this mani.

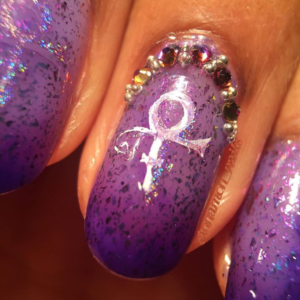
Prince Tribute – double stamping and thermal nail polish

Prince is one of my favorite artists of all time.  I was deeply saddened to hear of his passing so I knew I wanted to commemorate him in some way. This is a simple double stamped design with nail charms and rhinestones, but I love the added dimension of the thermal polish by Liquid Sky Lacquer called Violet Tendencies.  My clear jelly stamper was quite useful for stamping precision.

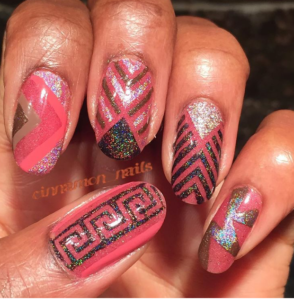
Pink and brown – pattern and color combination overload

My submission for the When Colours Collide nail art challenge: pink and brown.  This mani took a long time for the simple fact that every nail could have been an accent nail. I like that each one is completely different but they all complement each other.  I also used thermal polish as the base color so when my hands were warm it was like having a different manicure!

Pulse Nightclub tribute – Out of chaos we will find a path back to love.

The tragedy in Orlando hurt me to my heart. But for the grace of God I could have been counted amongst the fallen having been to many dance clubs with my friends celebrating life and enjoying each others company.  This was my mani contributing to Rainbow Nails for Orlando because love is love.

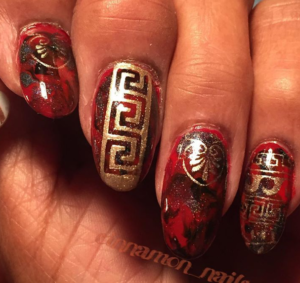
My Mother’s favorite colors – Red, Black and Gold

My Mother is the main source of my creativity.  So many good memories are from when we would sit together doing various crafts.  It’s so much fun to have more another palette to work on other than my own. I really like how these turned out for her.

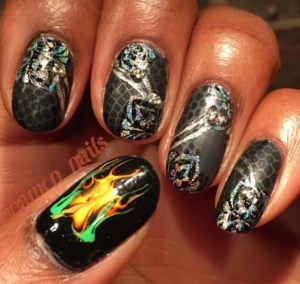
Game of Thrones – Cersei’s dress in the season finale and wild fire

I am Game of Thrones obsessed. I’m actually watching the GOT marathon on HBO as I write this.  I cannot say that I am a Cersei sympathizer but I have nothing but respect at her level of ruthlessness.  She won! And she looked fierce in her war dress while doing it.  I wanted to capture it on my nails.

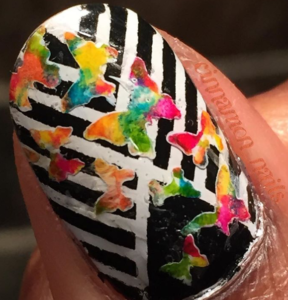
Elizabeth Sutton Collection – manicure inspired directly from her artwork

I have full intention of owning an Elizabeth Sutton piece in my home.  I love her juxtaposition of movement and structure as well as her intricate use of color.   Once again,  I created nail decals using vinyls directly on the Miracle Mat.


Hang in there, it’s almost 2017!

What can I say.  I believe that many of the intentions we had for 2016 probably failed or got derailed in some way.  One for me was to start this nail art blog.  I am ashamed to admit that I created this page and the domain name literally one year ago and it has laid dormant.

Christmas 2015 Nail Art Designs

There was just too much else to tackle in life: changing jobs, selling my home, moving to a new state to name a few.  Not to mention keeping my center during the tumultuous and somewhat tragic turn of national and world wide events these last 6 months.

But I did create and maintain my nail art page on Instagram, but even that has gotten less attention over the past few months. Especially since all of my nails broke off to nubs during the move.

Meanwhile 2016 had other plans

But in a way, that was therapeutic.  A tree needs to be pruned in order to grow healthy right?  So maybe 2016 was a year for pruning away all the things that were holding us back.  To pay attention to what we were taking for granted.  Leaving empty spaces for us to fill in new things in like compassion, empathy and patience.  Plus an acceptance that we do not have much control…over anything.

So I return to a goal from last year: to start blogging.  I have opinions and have been told years ago that I should do this. This page may not be entirely nail art, but I will make a disclaimer first so you can ignore it if you like.

If 2016 has taught us anything, life is short!  Be honest with yourself and others. And whatever you are putting off, its time to dive in and do it!!  May the Force be with you.  Love, Cinnamon Nails!

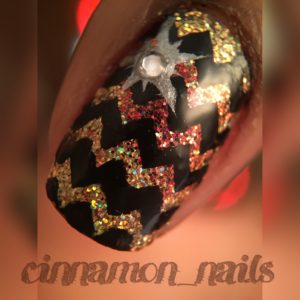
Macroshot with my Olloclip from Christmas 2015